|
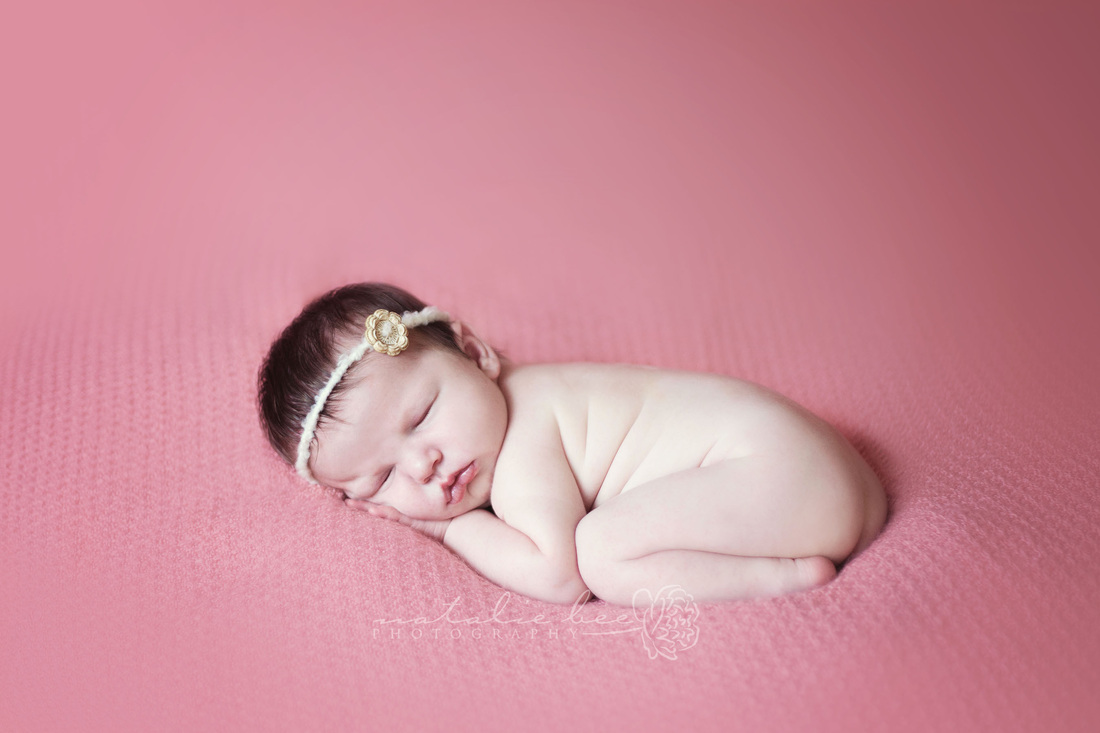
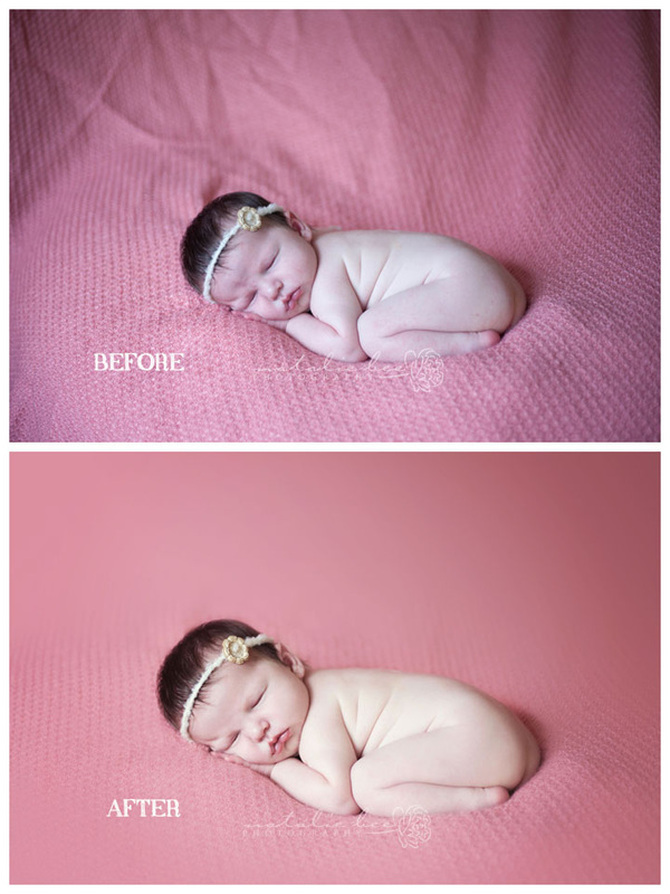
I hope everyone is fully enjoying this beautiful 4th of July :) I thought it would be nice to introduce a little 'Before & After' edit for all of the clients and followers that were wondering what exactly goes into retouching an entire session for your newborn. It's a lot of work! Each image takes roughly 10-15 minutes: Between scratches, red blotches, diaper rash, red/blue hands and feet from lack of circulation, flaky skin, jaundice, any birth marks or bruises from labor, it can be quite a chore to make each image look as perfect as possible. Below, is the final image that the client would receive: Here are the steps I took to achieve this gorgeous baby:
Here is the before and after, side-by-side. What a difference it made!!:
4 Comments
Tina Guess
4/23/2015 03:24:57 am
I just have a question, how did you clone out the wrinkles and make it smooth? I see the detail in the blanket she is laying on but can't see the details of the blanket in the background. I have used the clone also but it doesn't ever look this good. Just wondering if I was missing a step. Thanks Tina
Reply
Lindsey
3/28/2019 06:45:13 am
Thank you so much this was very helpful!!!
Reply
Dana
5/25/2019 07:17:57 am
What program are you using?
Reply
Your comment will be posted after it is approved.
Leave a Reply. |
AuthorNatalie Bee is a Spokane, WA Maternity, Birth & Newborn Photographer, certified Birth Doula + mother of four. Archives
April 2024
|


